Install and Configuration
Configure DNS Server for Azure Virtual Network
Learn how to set up a DNS server with a static IP for an Azure Virtual Network, enabling domain joining and name resolution for all connected virtual …
TL;DR; To join a machine to your Azure-hosted domain controller, ensure the machine is in the correct virtual network and that the DNS server is properly configured. Use Remote Desktop to connect to the VM, then update the system settings to join the domain and reboot. This process is similar to joining a local domain, and managers should confirm network and DNS setup before proceeding.
Now that you have finished moving your Domain Controller Azure VM to a Virtual Network ] you need to be able to join a machine to your azure hosted domain controller.
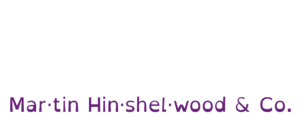
You need to make sure that you have your machine within the correct virtual network, and move your Azure VM to a Virtual Network if necessary. On top of that you need to have the your domains DNS server configured for your virtual network so that the guest machine knows where to look for the domain.
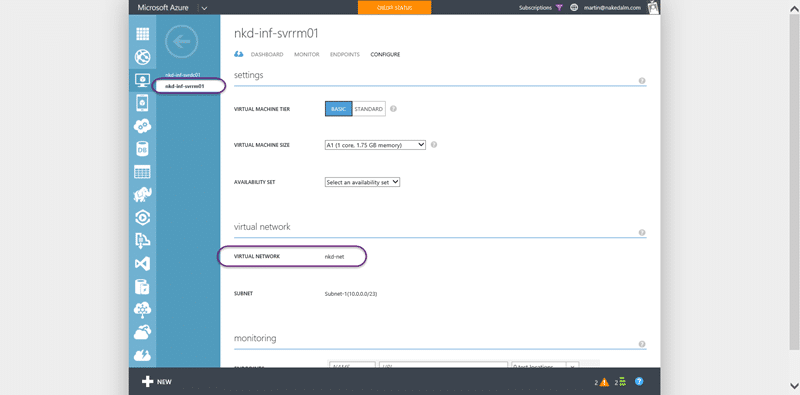
If everything is in order you should connect to the VM you want to join to the domain that you have created. On the Dashboard tab of the VM you should see a ‘connect’ button at the bottom of the screen. Clicking it will launch Remote Desktop and connect it to the server.
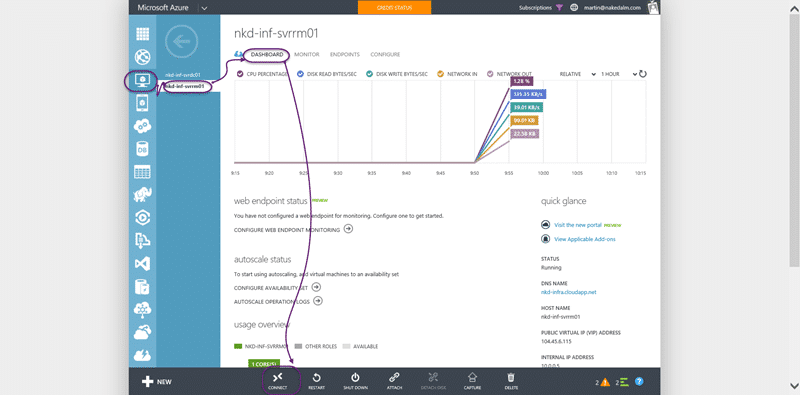
Once on the server the DBS setting should be correctly configured automatically as part of the DHCP for the Virtual Network that we configured before. This should make it fairly simple to join the machine to the domain. This is no different from local domains.
Note What I really want is to be able to join these machines to AAD so that I do not have to maintain a separate set of local domain controllers for this purpose. For me it gets a little more complex as I have no physical servers, only Azure and Office 365.
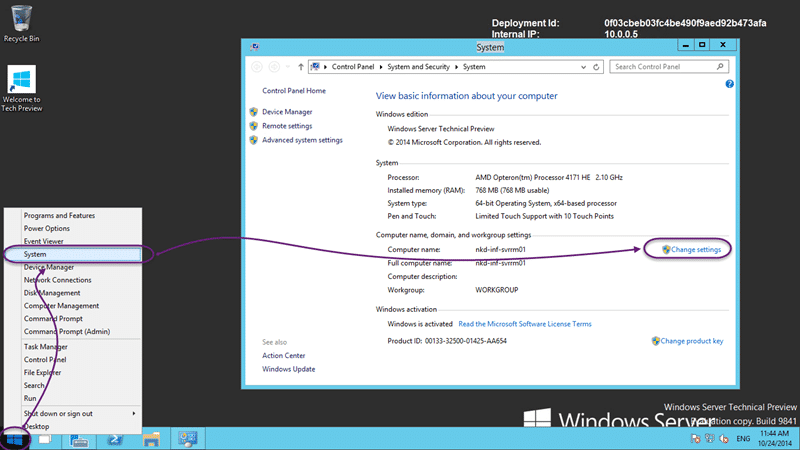
If you right-click on the start button and select “System” you will see the current machine name and domain affiliation. Most likely it will be “Workshop”. To make the change we need to click “Change Settings” to open the dialogs.
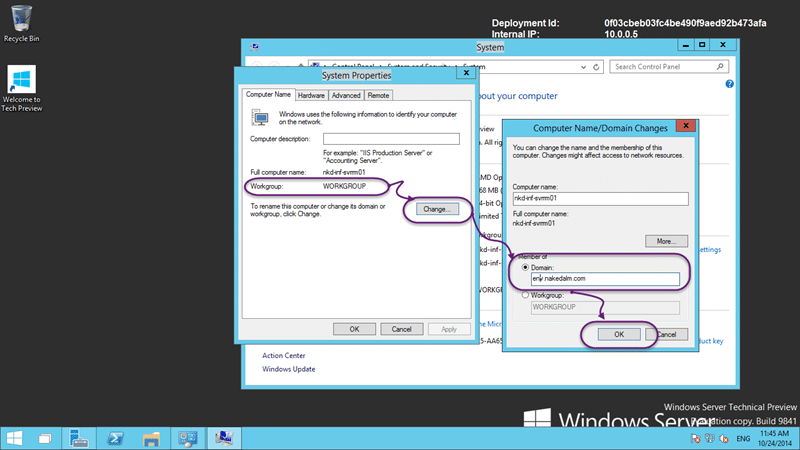
Set the radio-button to “Domain” and enter the name of the domain that you want to join. As I setup “env.nakedalmweb.wpengine.com” that is what I need to enter. Once you click “OK” you will be asked for a domain administrator account to join the machine.
After that a simple reboot will allow you to login to the domain with any of the domain accounts that you have configured.
Each classification [Concepts, Categories, & Tags] was assigned using AI-powered semantic analysis and scored across relevance, depth, and alignment. Final decisions? Still human. Always traceable. Hover to see how it applies.
If you've made it this far, it's worth connecting with our principal consultant and coach, Martin Hinshelwood, for a 30-minute 'ask me anything' call.
We partner with businesses across diverse industries, including finance, insurance, healthcare, pharmaceuticals, technology, engineering, transportation, hospitality, entertainment, legal, government, and military sectors.

Hubtel Ghana

Microsoft
Jack Links

Milliman

YearUp.org

Flowmaster (a Mentor Graphics Company)
Sage

Philips

Slicedbread

Boeing

SuperControl

Deliotte

DFDS

Emerson Process Management
CR2

ALS Life Sciences
Boxit Document Solutions

Slaughter and May

Nottingham County Council

Washington Department of Enterprise Services
Royal Air Force

Washington Department of Transport

New Hampshire Supreme Court
Department of Work and Pensions (UK)
Flowmaster (a Mentor Graphics Company)
Slicedbread
Sage
SuperControl

Teleplan

Higher Education Statistics Agency