This being my first week at
SSW
, and still waiting for my nice shiny new laptop to arrive, I am sitting here at my Wife’s laptop (which is PINK, a requirement to keep the
WAF
high), until it arrives.
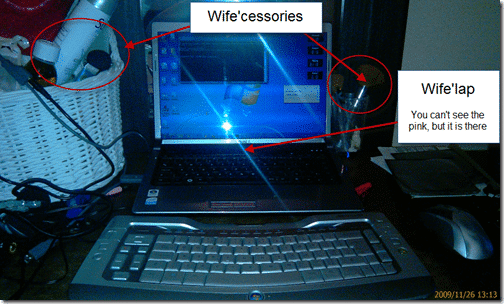
Figure: Current workspace…one wall short of working in a cupboard, but it beats trying to work with the kids underfoot.
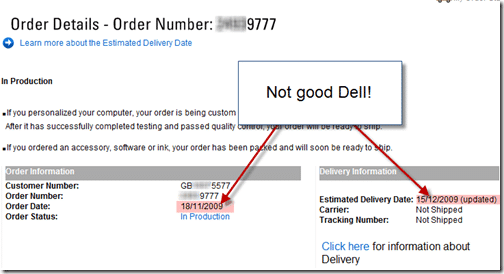
Figure: I know its nearly Christmas, but that’s a long time between order and delivery!
SSW have sent me a .wim (Windows Image) file in the post and I really want to get a look at it before my new computer arrives.
In order to be able to create a clean install very quickly we need to convert this to a Windows 7 VHD. This way when the new computer arrives we can just move it over :) I also want to be able to reinstall my computer quickly. And what is quicker then mounting a new VHD and rebooting.
In order to achieve this there are a number of things that need done:
Copy all of the .rar files from the DVD’s 
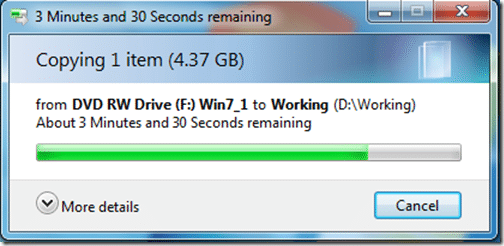
Figure: First disk nearly finished
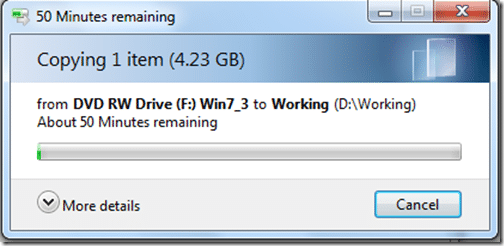
Figure: Third disk is taking a while
Use WinRar to fit the 3 packages back together
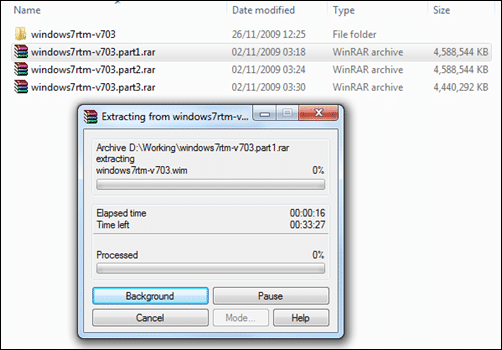
Figure: Joining the wim file together is going to take a while as well. I don’t want to have to do this more than once!
**Create a new VHD
**
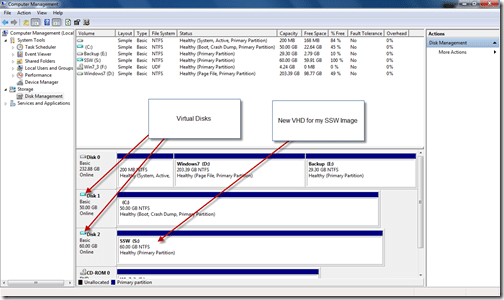
Figure: Showing the physical and Virtual disks on my wife’s pink laptop.
Deploy Image to new VDH
In order to do this you will need
imageX
from the
Windows 7 Automated Installation Kit
. Check
http://blogs.technet.com/aviraj/archive/2009/01/18/windows-7-boot-from-vhd-first-impression-part-2.aspx
for more details and scenarios that will suit you.
note: You may look at the
Windows(R) Image to Virtual Hard Disk (WIM2VHD) Converter
as another solution, but it requires that the Windows 7 Automated Installation Kit be installed locally, where I just downloaded imageX separately and bypassed the 1gb download.
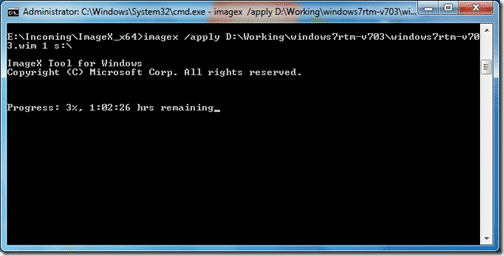
Figure: As usual, this is showing the remaining in “Microsoft Minutes”
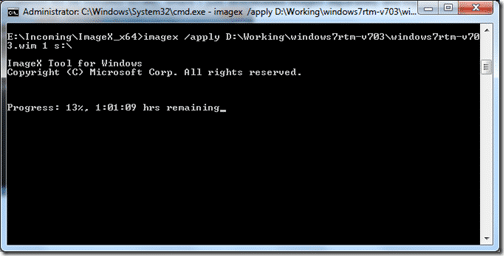
Figure: So 10% took just over a Minute? What is the rest of the hour for?
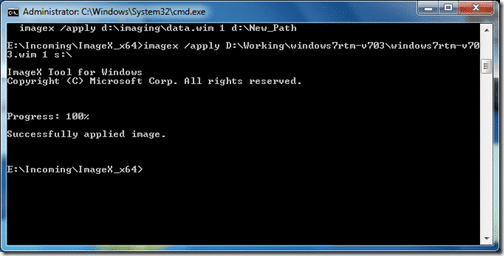
Figure: All done, I don’t know how long it took because I got on with some other things, but it was a while!
Detach the VHD
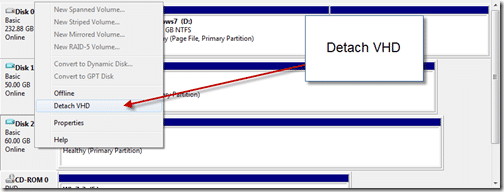
Figure: Detaching the VHD will allow us to copy it.
Copy the new VHD
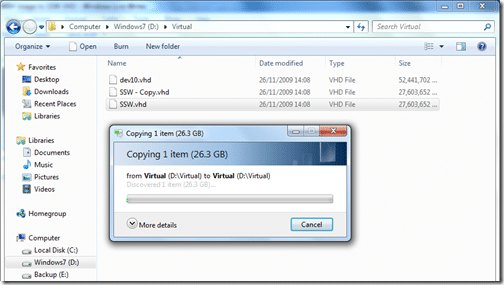
Figure: This will allow me to save ssw.vhd for a rainy day, and use the copy as a working install.
Rename the copy to “SSW_001.vhd”
Attach SSW_001.vhd
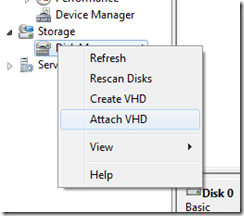
Figure: Attaching a VHD is very easy
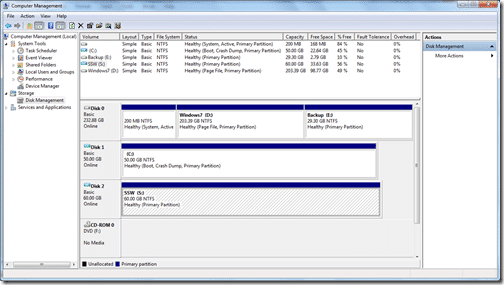
Figure:
Add the new SSW*001.vhd to the boot list using the folowing commands:
**_C:>bcdedit /copy {current} /d “SSW_001”
C:>bcdedit /set device vhd=[driveletter:]
C:>bcdedit /set osdevice vhd=[driverletter:]
C:>bcdedit /set detecthal on
*****Note:** detecthal is used to force windows to auto detect the Hardware Abstraction Layer.
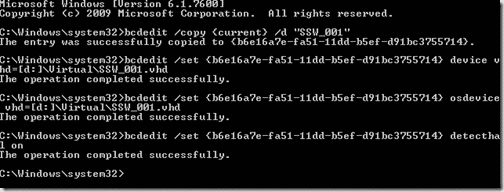
Figure: Added and configured the new Image…lets try it out…
Although this took a long time with 3 long running processes, it will be a lot faster next time as I can start from step #9…
Technorati Tags:
SSW
Windows
Smart Classifications
Each classification [Concepts, Categories, & Tags] was assigned using AI-powered semantic analysis and scored across relevance, depth, and alignment. Final decisions? Still human. Always traceable. Hover to see how it applies.
Our Happy Clients
We partner with businesses across diverse industries, including finance, insurance, healthcare, pharmaceuticals, technology, engineering, transportation, hospitality, entertainment, legal, government, and military sectors.
Emerson Process Management
New Hampshire Supreme Court
Department of Work and Pensions (UK)
Nottingham County Council
Washington Department of Transport
Higher Education Statistics Agency
Flowmaster (a Mentor Graphics Company)